How to Resize an Image Without Losing Quality
 1. Lock Proportional Aspect Ratio
 2. Crop Target Shape Before Resizing
 3. Use WebP / AVIF Modern Formats
We’ve all been there. You have a perfectly good photo, but the website says “Image dimensions not supported.”You resize it, upload it again, and suddenly the photo looks blurry. Or maybe you’ve reduced the file size and now the image looks nothing like the original.
So, what went wrong?
Resizing an image isn’t simply about making it smaller or bigger. The way you resize an image matters. If you maintain the right proportions, choose suitable dimensions, and use the right format, you can resize an image while keeping it looking sharp and natural.
In this guide, we’ll walk through how to resize an image without losing quality, explain the difference between resizing and cropping (including custom contours with our freehand crop guide), and show you what to consider when preparing images for websites, social media, applications, documents, and more.
First, What Does “Resizing an Image” Actually Mean?
When you resize an image, you’re changing its width and height. For example, imagine you took a photo with your phone and its dimensions are:
4032 × 3024 pixels
That’s a fairly large image.
If you want a smaller version, you might resize it to:
2000 × 1500 pixels
The image is now smaller, but the proportions remain the same. This is important because an image has more than one type of “size.” For example:
- 4032 × 3024 px → image dimensions
- 4 MB → file size
- JPG → file format
These three things are related, but they’re not the same. And understanding the difference will make resizing images much easier.
Why Does an Image Become Blurry After Resizing?
If you’ve resized a photo and thought, “Why does this look worse now?”, you’re probably dealing with one of these common problems:
You enlarged the image too much
Let’s say you have a small image that’s only 500 × 500 pixels, and you try to turn it into 3000 × 3000 pixels. The software has to create additional pixels that weren’t present in the original image. The result can be soft, blurry, or pixelated. That’s why it’s generally easier to make a large image smaller than to make a very small image significantly larger.
You changed the image’s proportions
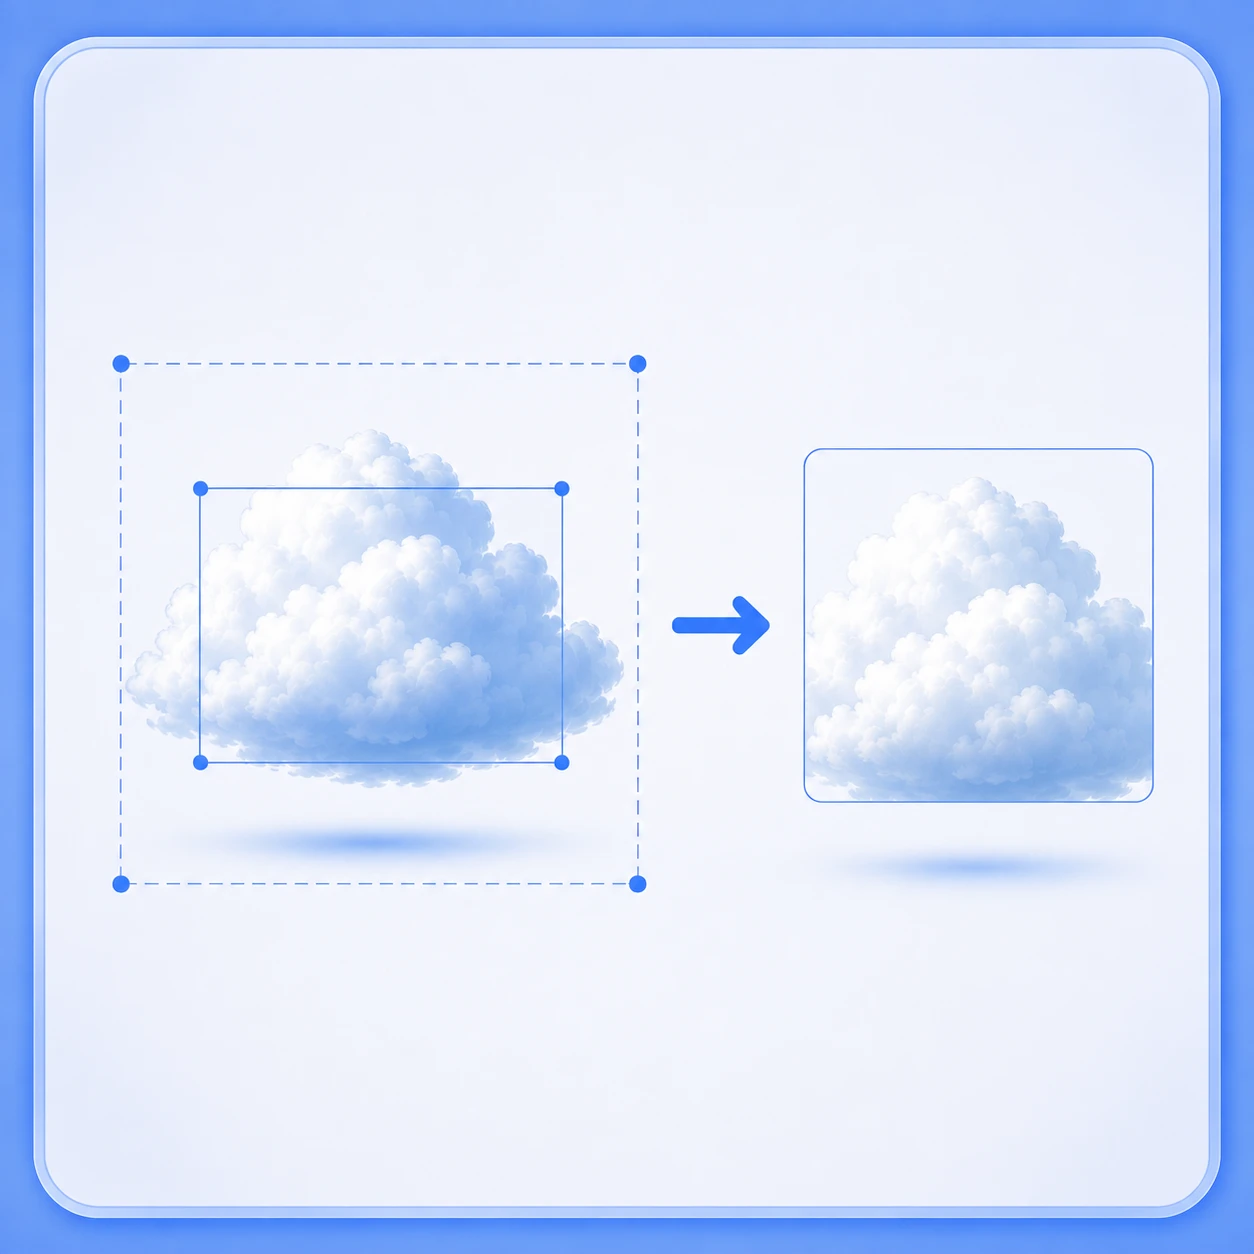
This is another very common mistake. Suppose your original photo is 4000 × 3000 px (a 4:3 aspect ratio). Now you enter 1920 × 1080 px (16:9). If you simply force the original image into those dimensions, the image can become stretched. A person’s face might look wider; a building might look strangely compressed. The better approach is usually: Crop → Resize, rather than stretching the image.
You compressed it too much
Resizing and compressing are two different things. You can have the perfect image dimensions but still end up with a poor-looking image if the file has been compressed too aggressively. This is especially noticeable with JPG images. The goal isn’t simply to create the smallest possible file. The goal is to find a good balance between image quality, dimensions, file size, and format.
So, How Do You Resize an Image Without Losing Quality?
There’s no magic button that guarantees zero quality loss in every situation. But you can get very good results by following a few simple rules:
1. Start With the Best Version of Your Image
Whenever possible, start with the original photograph. Don’t resize a screenshot of an already compressed image if you still have the original. For example, if your phone originally saved a high-resolution photograph, use that version. You can always create a smaller copy from a high-quality original. Going the other way from a tiny, compressed image to a large, detailed one is much harder.
2. Know Where You’re Going to Use the Image
Before you resize anything, ask yourself: “Where is this image going?”Are you uploading it to a website, Instagram, LinkedIn, a government or exam application, an online form, a presentation, a document, or a printing service? The answer matters because every use case can have different requirements. For example, a website banner might need a wide image, while a profile picture might need a square one. An online application might specify both dimensions and maximum file size. So don’t resize an image just because you think a smaller size “looks right.” Check the actual requirement first.
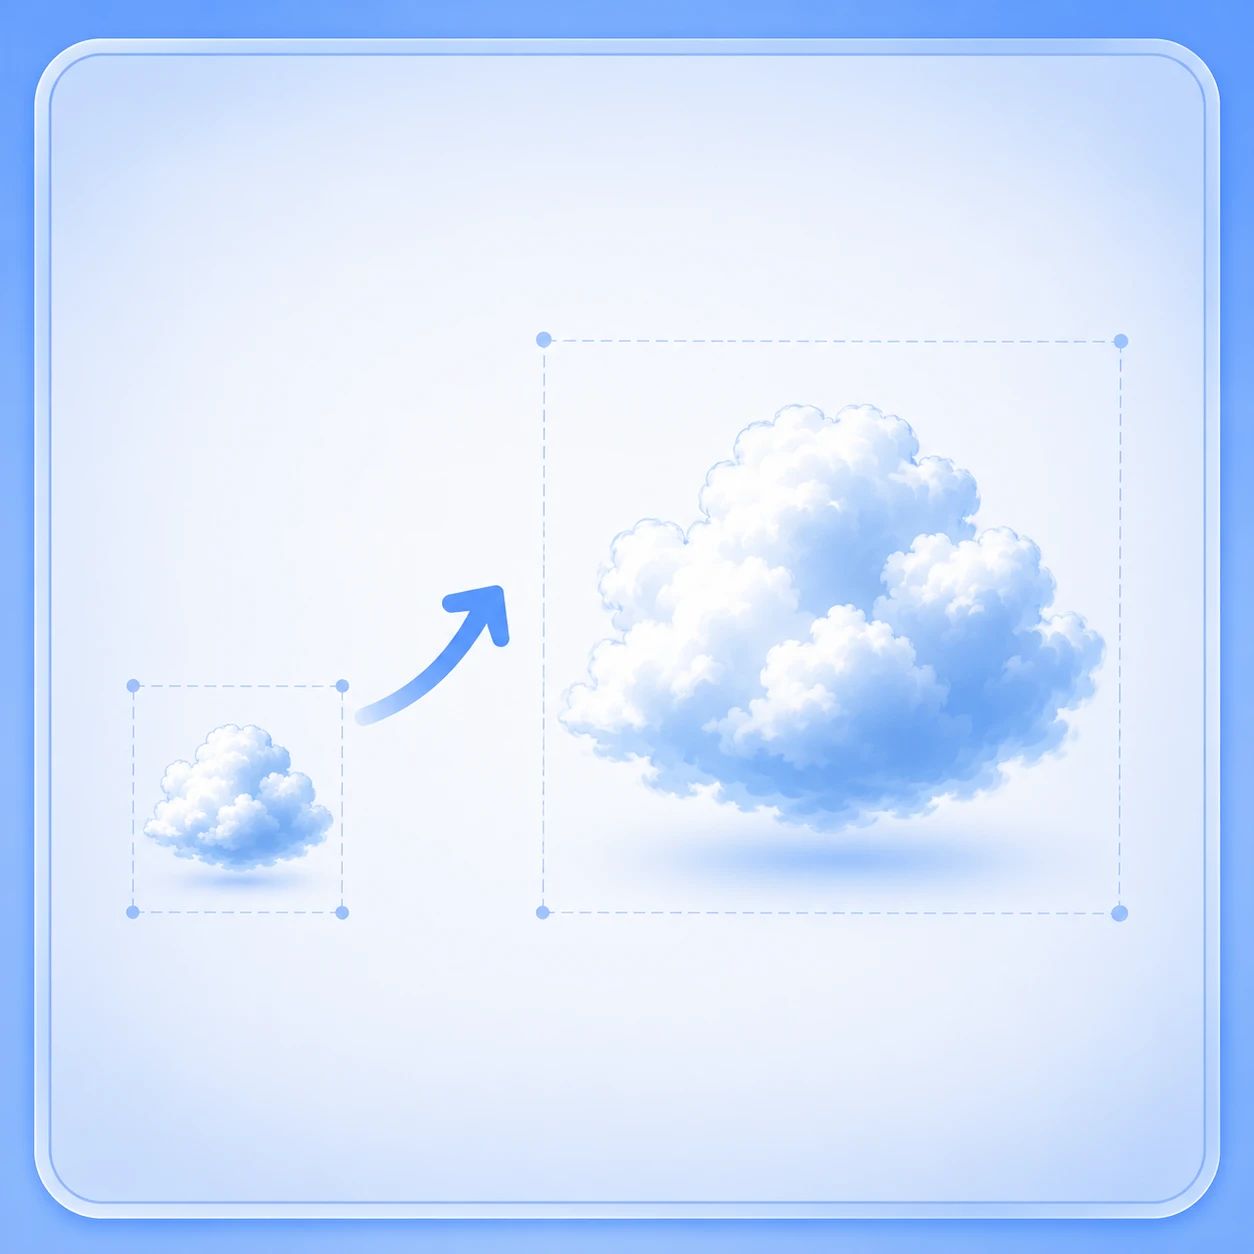
3. Keep the Aspect Ratio Correct
This is probably the most important tip if you want to avoid distorted images. The aspect ratio is simply the relationship between an image’s width and height. Some common aspect ratios are: 1:1 Square, 4:3 Common photo format, 3:2 Common in photography, 16:9 Widescreen. For example: your original image is 4000 × 3000 px. If you reduce it proportionally to 2000 × 1500 px, the image keeps its 4:3 shape. But if you change it to 2000 × 1000 px, you’re changing the proportions. Unless you intentionally crop the image, it can look stretched. The simple rule: if you want to keep everything in the photo, resize proportionally. If you need a different shape, crop first.
Cropping vs Resizing: What’s the Difference?
People often use the words “crop” and “resize” interchangeably, but they do different jobs:
Resizing changes the dimensions.For example: 4000 × 3000 → 2000 × 1500. The entire image is still there. It’s simply smaller.
Cropping removes part of the image.Imagine you’ve taken a landscape photo, but you need a wide 16:9 banner. Instead of stretching the image, you can crop away some of the top or bottom, then resize the remaining image (e.g. Original photo → Crop to 16:9 → Resize to 1920 × 1080). This usually gives you a much more natural result.
The Simple Image-Resizing Workflow:
Step 1: Crop → Step 2: Resize → Step 3: Choose format → Step 4: Check file size
In simple terms: Crop → Resize → Format → Optimize.
How to Resize an Image to an Exact Size
Sometimes “make it smaller” isn’t enough. You might be told: “Upload a 1920 × 1080 image,” or “The image must be 1080 × 1080 pixels,” or perhaps a document requires “10 × 15 cm.” With CropMyImages, you can resize images using: Pixels (px), Inches (in), Centimeters (cm), or Millimeters (mm). So instead of repeatedly guessing and checking the image size, you can enter the dimensions you actually need.
How to Resize an Image in Pixels
Pixels are the most common measurement you’ll encounter online. For example: 1920 × 1080 px means the image is 1920 pixels wide and 1080 pixels tall. If you need a square image: 1080 × 1080 px, both dimensions are the same. Before entering an exact size, take a moment to check the aspect ratio. If your original image doesn’t have the same proportions as your target dimensions, consider cropping it first. That small step can make a big difference in the final result.
What About Image Size in KB or MB?
Here’s where things can get confusing. Someone might say: “I need to reduce my image to 100KB.” That’s not the same as saying: “I need a 1000 × 1000 pixel image.” One refers to file size; the other refers to image dimensions. For example: 1920 × 1080 px = dimensions; 500 KB = file size. A website may specify one or both (e.g. Photo: JPG, maximum 100KB). In that situation, simply resizing the image isn’t necessarily enough — you may also need to optimize the file size.
How to Resize an Image for a Website
A common mistake is uploading the original photo directly from a phone or camera to a website. Modern phones can capture extremely large images. If the website only displays the image at a much smaller size, you’re potentially sending much more image data than the page needs. A better workflow is: Crop → Resize → Choose an efficient format → Optimize.
Which Image Format Should You Use?
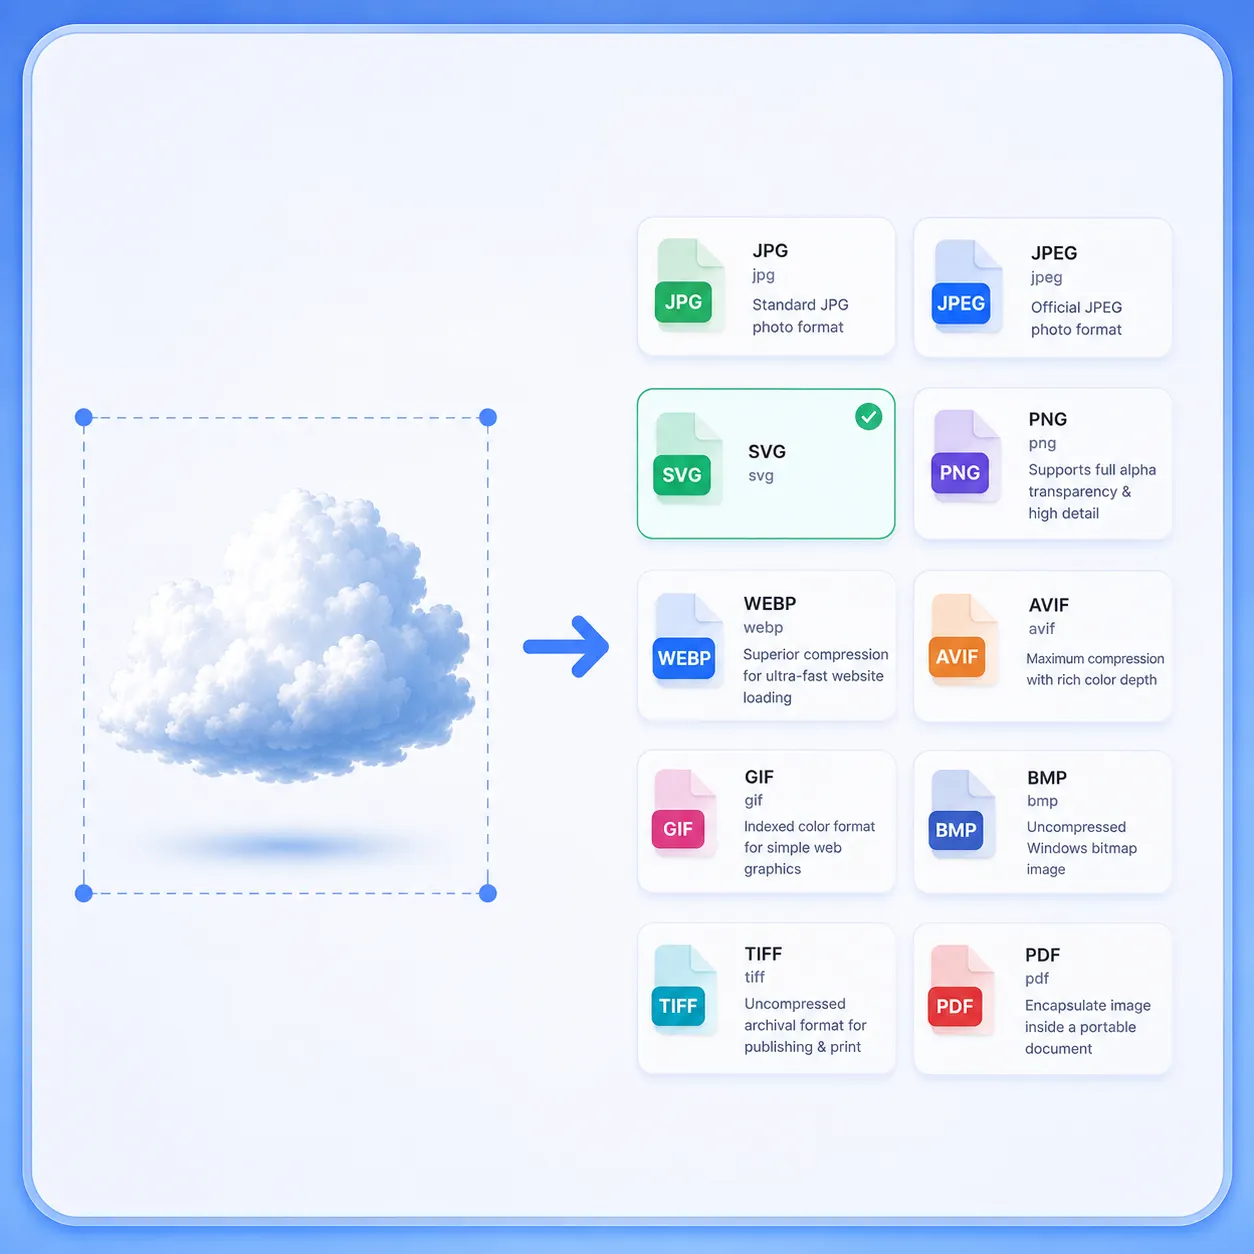
Resizing is only part of the process. The format you choose matters too:
- JPG: Popular choice for photographs (travel, product, blog photos). Keeps file sizes small while maintaining good visual quality.
- PNG: Useful when you need transparency, lossless image compression, logos, graphics, and screenshots.
- WebP: Modern image format designed to provide good image quality with efficient file sizes for websites.
- AVIF: Next-generation image format focused on efficient compression.
You can convert between all these formats effortlessly using our free online image converter tool.
How to Reduce an Image Size Without Making It Blurry
If you’re trying to reduce a photo from several megabytes to a much smaller file, don’t immediately reduce the quality slider to the lowest setting. Instead, look at the whole image. Ask: Does the image actually need to be this large? If not, reduce the dimensions first, or check out our guides on how to compress images online and how to resize images to 50KB. For example: 4032 × 3024 px might be unnecessarily large for a particular website placement. Creating a properly sized version can reduce the amount of data in the image while keeping it visually sharp.
Can You Convert an Image From MB to KB?
Technically, you’re not “converting MB to KB” in the same way you convert one image format to another. You’re reducing the file size. For example: Original 4032 × 3024 px (4 MB) → Optimized version 1920 × 1440 px (Smaller file size). The final file size depends on things such as: image dimensions, image content, file format, compression, and image quality settings.
How to Resize an Image Online With CropMyImages
If all you need is a quick image resize, you shouldn’t have to open complicated photo-editing software. With CropMyImages, you can resize your image through a straightforward workflow:
- Select your image: Upload the image you want to work with (JPG, PNG, WebP, AVIF).
- Set your required size: Enter the dimensions you need in px, inches, cm, or mm.
- Resize and export: Apply your settings and create the resized image.
How to Resize an Image to 1920 × 1080 Without Distortion
1920 × 1080 is a 16:9 image size, commonly used for widescreen content. If your original photo is already 16:9, you can resize it directly. If it isn’t, don’t force it into 1920 × 1080. Instead: Original image → Crop to 16:9 → Resize to 1920 × 1080 → Export.
How to Resize Images for Social Media
Social media platforms use different image sizes for different types of content. You might need a square post, portrait post, landscape image, story, reel, or cover image. Rather than resizing every image manually, start with the dimensions required for the specific placement. CropMyImages also provides social-media presets.
7 Simple Tips to Keep Your Images Looking Sharp
If you only remember a few things from this article, remember these seven tips:
- Start with the original (highest quality available).
- Avoid enlarging tiny images to prevent pixelation.
- Maintain the aspect ratio to prevent stretching.
- Crop before changing the shape if ratio differs.
- Don’t use unnecessarily huge dimensions for websites.
- Pick the right format (JPG, PNG, WebP, AVIF).
- Check the final image preview before uploading.
Frequently Asked Questions
How do I resize an image without losing quality?
Use the highest-quality original available, maintain the aspect ratio, avoid excessive enlargement, choose suitable dimensions, and use an appropriate file format and compression level.
How can I resize a photo without making it blurry?
If you’re reducing the image, maintain its proportions and avoid excessive compression. If you’re enlarging it, don’t increase the dimensions dramatically beyond the original resolution.
What is the difference between resizing and cropping?
Resizing changes the dimensions of the entire image. Cropping removes part of the image. If you need a different aspect ratio, cropping before resizing can prevent distortion.
How do I resize an image to exact dimensions?
Use an image resizer that allows you to enter the exact width and height you need. If the target dimensions have a different aspect ratio, crop the image first.
Can I resize an image in pixels, inches, cm or mm?
Yes. Depending on the tool you use, you can specify image dimensions in pixels or physical units such as inches, centimeters and millimeters.
What is the best image format for a website?
There isn’t one format that works best for every situation. JPG, PNG, WebP and AVIF can all be useful depending on the image and how it will be delivered.
How do I resize an image to 1920 × 1080?
If your image is already 16:9, resize it directly to 1920 × 1080 pixels. If it has a different aspect ratio, crop it to 16:9 first.
Does resizing an image reduce file size?
It often can, particularly when you reduce the image’s dimensions. However, the final file size also depends on the format, image content and compression settings.
Resize Your Image the Easy Way
Resizing an image shouldn’t feel like a complicated editing task. With CropMyImages, you can crop and resize your images using exact dimensions in pixels, inches, centimeters, or millimeters, work with popular image formats, and use presets for common social-media requirements.